
If you have a pet bird, you know how important it is to provide them with a safe and comfortable cage. But what if you want to give your bird’s home a makeover? Can you paint a birdcage without harming your feathered friend? The answer is yes, but you must be careful about what kind of paint you use and how you apply it.
This article will share 10 facts about bird-safe paint for cages, including what to look for, what to avoid, and how to properly prepare and paint your birdcage.
Fact 1: Not All Paints Are Safe for Birds
Birds are susceptible to chemicals and toxins that may be present in some paints. Some of the harmful substances that can be found in colour are:
Lead: This is a heavy metal that can cause neurological damage, anaemia, kidney failure, and death in birds. Birds can also ingest information if they chew on the paint or if it flakes off.
Zinc
This metal can be toxic to birds if ingested or inhaled. Zinc can cause vomiting, diarrhoea, liver damage, seizures, and bird deaths.
Chromate
This chemical compound can cause skin irritation, respiratory problems, and bird cancer. Chromate can also be absorbed through the skin or feathers of birds.
VOCs (Volatile Organic Compounds): Some paints emit these gases as they dry. VOCs can cause eye irritation, headaches, nausea, dizziness, and respiratory problems in birds. VOCs can also affect the air quality and ventilation in your home.
Fact 2: Water-Based Acrylic Paints Are the Safest Option for Bird Cages
The safest option for painting bird cages is non-toxic, water-based acrylic paint. This type of paint is free from harmful chemicals like lead, zinc, chromate, and VOCs. Water-based acrylics also dry quickly and have low fumes, making them safe for you and your pet.
Look for a paint labelled safe for birds or with the Green Seal Standard. This means that the colour meets the environmental and health criteria the Green Seal organisation sets. You can also check the paint’s ingredients list to ensure it contains no abovementioned substances.
Fact 3: You Need to Prepare Your Bird Cage Before Painting It
Before you start painting your bird cage, you need to do some preparation work to ensure a smooth and lasting result. Here are some steps you need to follow:
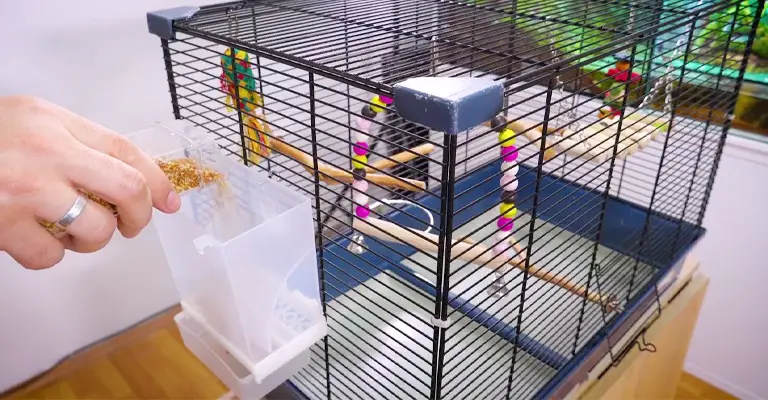
- Remove your bird from the cage and place it in a temporary enclosure in another room. Ensure your bird has enough food, water, toys, and perches in its temporary home.
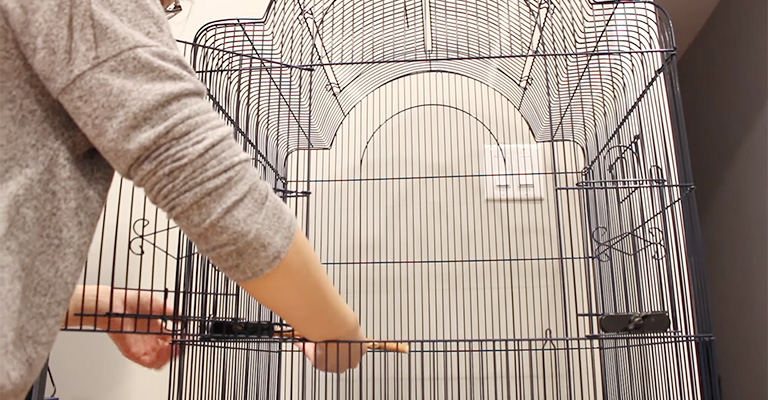
- Clean the cage thoroughly with water and soap or vinegar. Remove any dirt, dust, grease, rust, or old paint from the cell. Rinse the pen well and let it dry completely.
- Sand the cell lightly with sandpaper to smooth out any rough or uneven spots on the metal. This will help the paint adhere better to the surface of the cage.
- Apply a thin coat of primer to the cell using a brush or a spray can. Primer is a base layer that helps the paint stick to the metal and prevents corrosion. Choose a primer compatible with water-based acrylic paints and safe for birds.
Let the primer dry completely before applying the paint.
Fact 4: You Need to Apply Multiple Coats of Paint to Your Bird Cage
After preparing your bird cage with primer, you are ready to apply the paint. Here are some tips on how to do it:
- Choose a well-ventilated area to paint your birdcage. You can do it outdoors or in a garage with open windows and doors. Wear protective gloves, a mask, and goggles while painting.
- Use a brush or spray to apply thin and even coats of paint to your bird cage. Avoid dripping or pooling of paint on the cell. Cover all sides and corners of the cage with paint.
- Apply at least three coats of colour to your bird cage, letting each coat dry completely before applying the next one. This will ensure a smooth and durable finish on your birdcage.
- Let the final coat of paint dry and cure for at least one week before putting your bird back in the cage. This will allow the paint to harden and emit any remaining fumes.
Fact 5: You Need to Choose a Color That Is Suitable for Your Bird
When choosing a colour for your bird cage, you need to consider your bird’s preferences and personality. Some birds like bright and cheerful blooms, while others prefer calm and soothing ones. Some birds may be attracted to specific colours, while others may be scared or annoyed.
Here are some general guidelines on how to choose a colour for your bird cage:
- Avoid white or light colours that reflect light and glare into your bird’s eyes. This can cause eye strain, stress, and aggression in your bird.
- Avoid black or dark colours that can make your bird depressed, bored, or isolated. This can lead to feather plucking, self-mutilation, and behavioural problems in your bird.
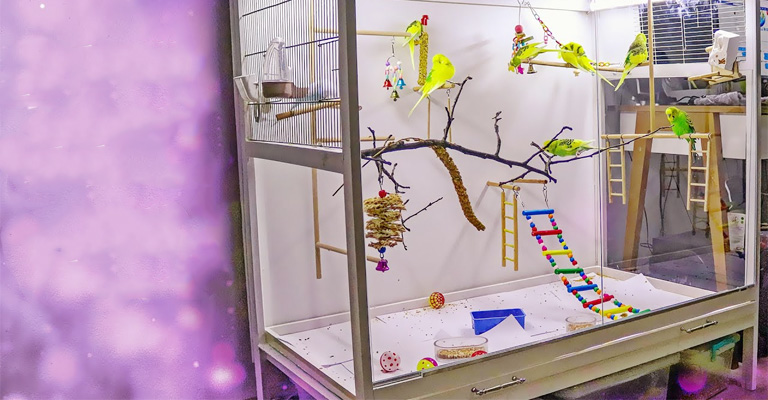
- Choose a colour that matches or complements your bird’s plumage. This can help your bird feel more comfortable and confident in its cage. For example, you can choose green for a parrot, blue for a budgie, or yellow for a canary.
- Choose a colour that reflects your bird’s personality and mood. For example, you can choose red for a playful and energetic bird, purple for a calm and relaxed bird, or orange for a friendly and social bird.
Fact 6: You Need to Maintain Your Bird Cage After Painting It
After painting your bird cage, you need to take good care of it to keep it looking friendly and safe for your bird. Here are some things you need to do:
- Clean your bird cage regularly with water and soap or vinegar. Remove any dirt, droppings, food, or feathers from the coop. Rinse the cell well and let it dry completely.
- Check your bird cage for signs of wear and tear, such as chipping, peeling, cracking, or paint rusting. You may need to repaint the affected area or cell if you notice any damage.
- Monitor your bird’s behaviour and health after putting it back in the painted cage. If you notice any changes, such as loss of appetite, lethargy, vomiting, diarrhoea, or respiratory problems, consult your veterinarian immediately. Your bird may be allergic or sensitive to the paint or have ingested some.
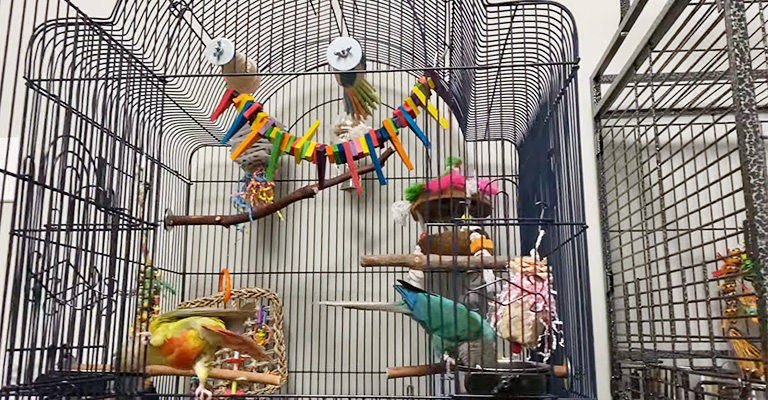
Fact 7: You Can Paint Other Accessories in Your Bird Cage
If you want to add more colour and fun to your bird’s home, you can also paint some accessories in your birdcage. For example, you can paint the perches, toys, feeders, or water bowls with the same paint you used for the cage. Just ensure you follow the same steps of preparation, application, and maintenance as you did for the cell.
However, there are some accessories that you should refrain from painting at all. These include:
Wooden Items
Wood is porous and can absorb paint easily. This can make it toxic for your bird if it chews on or licks it.
Plastic Things
Plastic is incompatible with water-based acrylic paints and can peel off easily. This can create sharp edges that injure your bird or trim pieces that your bird can swallow.
Metal Items
Metal can react with water-based acrylic paints and cause corrosion or rusting. This can damage the item and harm your bird.
Fact 8: You Can Use Other Methods to Decorate Your Bird Cage
If painting is not your cup of tea or you want to try something different, there are other ways to decorate your birdcage without paint. For example:
- You can use stickers or decals to add patterns or designs to your birdcage. Just make sure they are non-toxic and firmly attached to the cage so that your bird cannot peel them off or ingest them.
- You can use fabric or paper to cover parts of your bird cage with different colours or textures. Ensure they are non-flammable and secured with clips or ties so your bird cannot pull them off or get tangled.
- Natural materials like branches, leaves, flowers, or shells can create exciting shapes or features in your bird’s cage. Just make sure they are clean and safe for your bird to explore.
Fact 9: You Can Involve Your Bird in the Painting Process
If you want to make painting your bird cage more fun and interactive, you can involve your bird. Of course, you should not let your bird near the paint or the fumes while working on the cage.
But you can let your bird choose the colour of the paint by showing it different options and observing its reactions. You can also let your bird help decorate the cage by giving it some safe items to place inside the cell.
Involving your bird in the painting can make it feel more involved and attached to its new home. You can also strengthen your bond with your bird and have fun together.
Fact 10: You Can Paint Your Bird Cage as Often as You Like
There is no rule on how often you should paint your birdcage. It depends on your personal preference and your bird’s needs. Some people like to change the colour of their birdcage every few months or years to keep things fresh and exciting. Others prefer to stick to one colour that suits their bird and their home decor.
However, you should always ensure that the paint you use is safe for your bird and follow the proper preparation, application, and maintenance steps. After painting the cage, you should also monitor your bird’s health and behaviour and consult your veterinarian if you notice any problems.
FAQs
Look for a paint that is water-based, acrylic, non-toxic, lead-free, zinc-free, chromate-free, and VOC-free. Check the paint’s label or ingredients list to ensure it does not contain harmful substances. You can also look for colours with the Green Seal Standard or specifically for birds.
Use a wire brush and sandpaper to scrape any old paint or rust from the cage. You can also use a chemical stripper or a heat gun to loosen the colour, but be careful not to inhale the fumes or burn yourself. After removing the old paint, clean the cage with water, soap, or vinegar and let it dry completely.
It depends on the type of paint you use and the weather conditions. Generally, water-based acrylic paints dry faster than oil-based paints. It may take a few hours for the colour to dry and a few days to cure. However, waiting at least one week before putting your bird back in the painted cage is recommended to allow the paint to harden and emit any remaining fumes.
You can use water, soap, or vinegar to clean a painted birdcage. Avoid harsh chemicals or abrasive materials that damage the paint or harm your bird. Rinse the cage well and let it dry completely.
You can prevent your bird from chewing or peeling off the paint by choosing a high-quality paint that bonds well to metal and does not chip easily. You can also provide your bird with enough toys, perches, and enrichment activities to keep it busy and entertained in its cage.
If your bird still shows signs of boredom or stress, you may need to spend more time with it or consult your veterinarian.
Conclusion
Painting your bird cage can be a fun and rewarding project that can improve the appearance and comfort of your bird’s home. However, you must be careful about what paint you use and how you apply it to ensure your bird’s safety and health.
Following these 10 facts about bird-safe paint for the cages, you can create a beautiful and cosy environment for your feathered friend.