
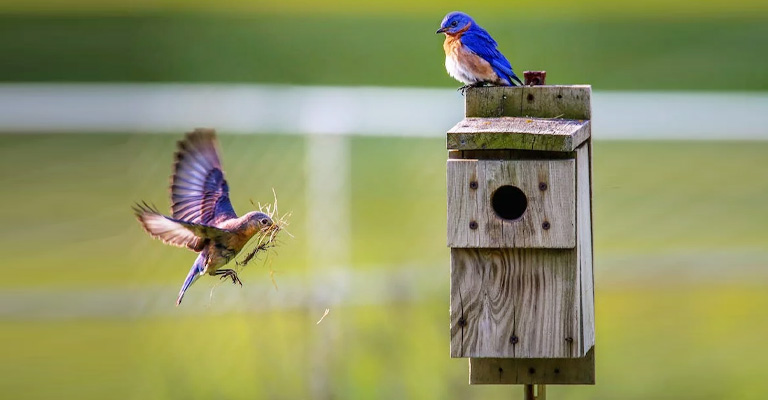
Building a birdhouse can be a fun and rewarding project for bird enthusiasts and DIYers alike. Whether you are using a basic box method, a kit, a scroll saw, or upcycling materials, there are many different ways to create a comfortable and attractive home for your feathered friends.
In this guide, we will explore the different methods for building a birdhouse, compare the costs and ease of use, and answer some frequently asked questions about birdhouse construction.
Whether you are a seasoned builder or a beginner, this guide will provide you with the information you need to build a birdhouse that is both functional and beautiful. So, don’t skip anything.
4 Methods to Build a Birdhouse
As I’ve said before, there are different methods for building a birdhouse. Among them, 4 specific methods work the best. They are discussed in detail right below.
1. Basic Box Method
The Basic Box Method is a simple and straightforward way to build a birdhouse that is perfect for beginner woodworkers. Here is a step-by-step guide to building a birdhouse using this method:
Tools needed:
- 1×6 board
- Miter saw
- Drill with a ¾ inch drill bit
- Screws
- Ruler
- Pencil
- Paint or stain (optional)
Step 1: Cut the pieces to size. Use the miter saw and cut the 1×6 board into two sides (6 x 5 inches), two front/back pieces (6 x 7 inches), and two roof pieces (6 x 7 inches).
Step 2: Drill the entrance hole. Using the drill and the ¾ inch drill bit, drill a hole near the top of the front piece. This will serve as the entrance hole for the birds.
Step 3: Assemble the sides and front. Using screws, attach the two sides to the front piece, creating a box shape. Make sure that the entrance hole is facing the front.
Step 4: Attach the back. Screw the back piece to the sides, completing the box shape.
Step 5: Attach the roof. Attach the roof pieces to the sides, making sure they are level and parallel to each other.
Step 6: Apply the finish. You can paint or stain the birdhouse to protect it from the elements and add a pop of color.
Step 7: Mount the birdhouse. Choose a location for the birdhouse that is sheltered from the wind and rain, but still provides plenty of light and air circulation. Mount the birdhouse using screws or nails.
With these simple steps, you can easily build a functional and attractive birdhouse for your feathered friends.
2. Kit Method
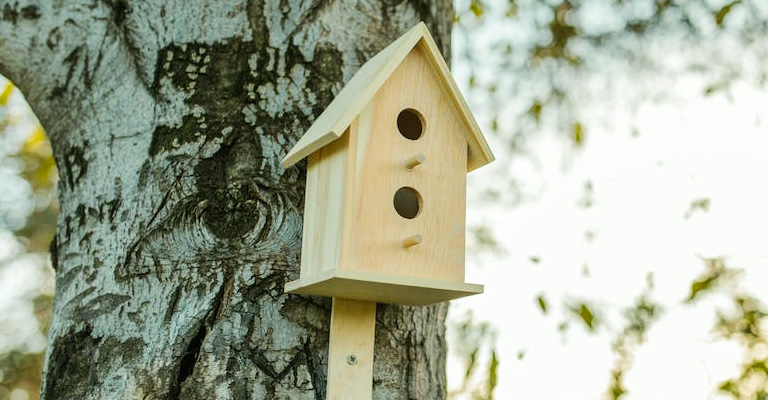
The Kit Method is a great option for beginner woodworkers who want to build a birdhouse without having to worry about cutting the pieces to size. Here is a step-by-step guide to building a birdhouse using this method:
Tools needed:
- Birdhouse kit
- Screwdriver or drill
- Paint or stain (optional)
Step 1: Assemble the pieces. Follow the instructions provided with the birdhouse kit and assemble the pieces together to form the birdhouse. This typically involves screwing the sides, front, and roof pieces together to form the box shape.
Step 2: Apply the finish. You can paint or stain the birdhouse to protect it from the elements and add a pop of color.
Step 3: Mount the birdhouse. Choose a location for the birdhouse that is sheltered from the wind and rain, but still provides plenty of light and air circulation. Mount the birdhouse using screws or nails.
And that’s it! With a birdhouse kit, you can easily build a functional and attractive birdhouse in no time. This method is a great option for those who want to build a birdhouse without having to worry about cutting pieces to size or making any complicated cuts.
3. Scroll Saw Method
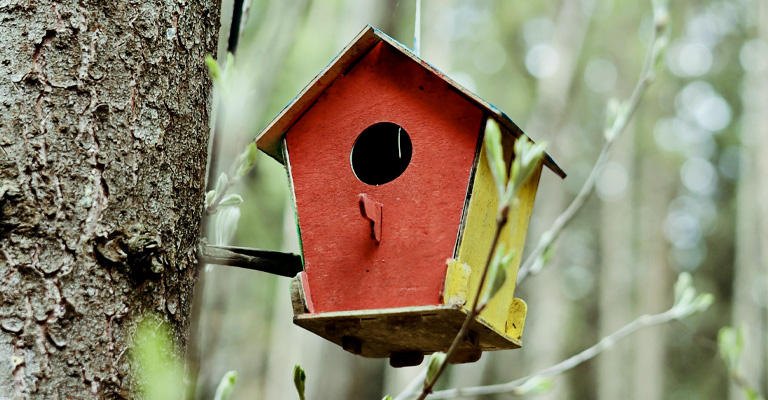
The Scroll Saw Method is a more advanced way to build a birdhouse that allows you to add intricate designs to the birdhouse. Here is a step-by-step guide to building a birdhouse using this method:
Tools needed:
- 1×6 board
- Scroll saw
- Drill with a ¾ inch drill bit
- Screws
- Ruler
- Pencil
- Paint or stain (optional)
Step 1: Cut the pieces to size. Use the miter saw and cut the 1×6 board into two sides (6 x 5 inches), two front/back pieces (6 x 7 inches), and two roof pieces (6 x 7 inches).
Step 2: Drill the entrance hole. Using the drill and the ¾ inch drill bit, drill a hole near the top of the front piece. This will serve as the entrance hole for the birds.
Step 3: Cut out designs on the pieces. Using the scroll saw, cut out intricate designs on the front, back, and roof pieces.
Step 4: Assemble the sides and front. Using screws, attach the two sides to the front piece, creating a box shape. Make sure that the entrance hole is facing the front.
Step 5: Attach the back. Screw the back piece to the sides, completing the box shape.
Step 6: Attach the roof. Attach the roof pieces to the sides, making sure they are level and parallel to each other.
Step 7: Apply the finish. You can paint or stain the birdhouse to protect it from the elements and add a pop of color.
Step 8: Mount the birdhouse. Choose a location for the birdhouse that is sheltered from the wind and rain, but still provides plenty of light and air circulation. Mount the birdhouse using screws or nails.
You can easily create a unique and decorative birdhouse following this method that is sure to attract a variety of birds. This method requires more skill and patience, but the results are worth it.
4. Upcycling Method
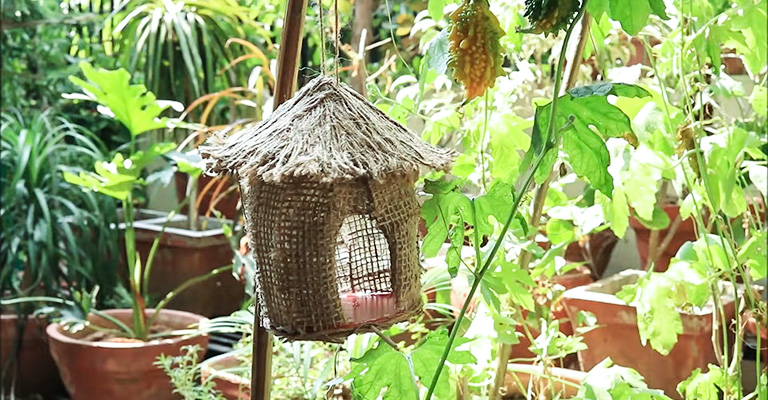
The Upcycling Method is a creative way to build a birdhouse using recycled materials. Here is a step-by-step guide to building a birdhouse using this method:
Tools needed:
- Recycled materials such as cardboard boxes, wine bottles, or tin can
- Scissors or utility knife
- Hot glue gun or screws
- Paint or stain (optional)
Step 1: Choose your recycled material. Select a material that is sturdy and weather-resistant, such as a cardboard box, wine bottle, or tin can. Make sure it is clean and free of any harmful chemicals or residues.
Step 2: Cut out the pieces. Cut out the sides, front, back, and roof pieces from recycled material. You can use scissors or a utility knife for this step.
Step 3: Assemble the sides and front. Using a hot glue gun or screws, attach the two sides to the front piece, creating a box shape. Make sure the entrance hole is facing the front.
Step 4: Attach the back. Glue or screw the back piece to the sides, completing the box shape.
Step 5: Attach the roof. Glue or screw the roof pieces to the sides, making sure they are level and parallel to each other.
Step 6: Apply the finish. You can paint or stain the birdhouse to protect it from the elements and add a pop of color.
Step 7: Mount the birdhouse. Choose a location for the birdhouse that is sheltered from the wind and rain, but still provides plenty of light and air circulation. Mount the birdhouse using screws or nails.
With the Upcycling Method, you can create a unique and eco-friendly birdhouse using materials that would otherwise go to waste. This method is a fun and creative way to build a birdhouse that not only helps the environment but also attracts birds to your backyard.
Comparison Between Each Method
As you’ve learned when it comes to building a birdhouse, there are several methods to choose from. And so many options can make you confused so easily.
In this case, I would like you to check the below lists of comparisons. The discussion will definitely help you choose the right option for you to grab.
Cost
- Basic Box Method: This method is the most cost-effective as it only requires basic tools and materials that are widely available and affordable.
- Kit Method: The cost of a birdhouse kit varies depending on the size and design, but it is typically more expensive than the Basic Box Method.
- Scroll Saw Method: This method requires more advanced tools and materials, which makes it the most expensive option.
- Upcycling Method: The cost of this method is relatively low as you are using recycled materials, but the cost of paint or stain and mounting supplies may still add up.
Ease of Use
- Basic Box Method: This method is the easiest and simplest method, making it suitable for beginners or those with limited woodworking skills.
- Kit Method: The ease of use depends on the complexity of the kit, but it is generally easier than building a birdhouse from scratch.
- Scroll Saw Method: This method is more difficult and requires a higher level of skill, making it suitable for experienced woodworkers.
- Upcycling Method: This method is relatively easy and can be a fun and creative project for those who enjoy repurposing materials.
Appearance
- Basic Box Method: This method produces a functional and simple birdhouse, but it does not offer much in terms of design or aesthetics.
- Kit Method: The appearance of a birdhouse kit depends on the design, but it typically provides a higher level of detail and decoration than the Basic Box Method.
- Scroll Saw Method: This method allows for intricate and unique designs, making it the best option for those who want a decorative birdhouse.
- Upcycling Method: This method allows for creative and unique birdhouses using recycled materials, making it a great option for those who want an eco-friendly birdhouse with a touch of personality.
Each birdhouse building method has its own pros and cons, and the best method depends on the individual’s skill level, budget, and desired appearance.
The Basic Box Method is the most cost-effective and easiest method, while the Scroll Saw Method is the most expensive and difficult, but also the most decorative.
The Kit Method and Upcycling Method are somewhere in between, providing a balance of cost, ease of use, and appearance.
Ultimately, the best method is the one that allows you to build the birdhouse that you want, at a cost you can afford, and with the level of skill and creativity that you have.
Comparison Between Birdhouse Building Methods: At a Glance
| Method | Cost | Ease of Use | Appearance |
| Basic Box Method | Low | Easy | Simple and Functional |
| Kit Method | Moderate | Moderate | Decorative |
| Scroll Saw Method | High | Difficult | Intricate and Decorative |
| Upcycling Method | Low | Easy | Creative and Eco-friendly |
FAQs
Cedar or redwood are good options as they are naturally resistant to rot and insects. However, any type of untreated wood that is free of chemicals or preservatives is acceptable.
The hole size should be 1-1/8 inches to 1-1/2 inches in diameter. This size is suitable for many bird species and will prevent larger birds from entering the house.
The birdhouse should be hung 5 to 10 feet off the ground and away from direct sunlight and strong winds. It should also be positioned in a place that offers some protection from predators.
You can use paint, stain, or a natural oil finish to protect the birdhouse and give it a finished look. Avoid using any finish that is toxic or harmful to birds.
It is important to clean a birdhouse regularly to prevent the buildup of parasites and disease. To clean a birdhouse, remove any old nests and wash them with soap and water. After washing, let the birdhouse air dry completely before replacing it in the desired location.
Yes, a birdhouse can be used for multiple seasons, but it is important to clean it regularly and replace any parts that are damaged or worn. If the birdhouse is well-maintained, it can provide a safe and comfortable home for birds for many years.
Conclusion
Hopefully, this article brings hope to your mind for making a DIY birdhouse. By following the guidelines and step-by-step instructions provided in this guide, you can build a birdhouse that is both functional and attractive. But make sure to choose the right method in this case.
And if you manage to follow the method sequentially there is no way to be disappointed while making a beautiful birdhouse. Also with proper care and maintenance, your birdhouse can provide a comfortable home for birds for many years to come.
So, whether you are an experienced builder or a beginner, why not give building a birdhouse a try today?